
It’s getting to be sandals weather soon! Pedicures at the spa or nail salon are so wonderful. They are a great splurge once in awhile. The foot massage you get there is almost worth the price.
But you can do your own pedicure at home that turns out just as well as the salon. (I cannot replicate my dip manicure at home, unfortunately.) If you’re like me and spend a lot of time barefoot in the summer, a DIY pedicure is a must.
These are some tricks to getting super smooth feet with beautiful toenails, that are ready for showing off your feet this season.
Foot Soak
I’m honestly not sure where I saw this, but my daughters and I swear by this recipe for a soak that gives you the smoothest feet. If you have those rough patches and callouses that are so annoying, try this and you will not be sorry.
It’s an easy concoction- one cup each of warm water, Listerine (or generic antiseptic mouth wash), and white vinegar. Yes, I said Listerine- any type or flavor will do. It sounds weird, I know. Warning that the blue flavor might lightly stain your feet, but it comes right off.
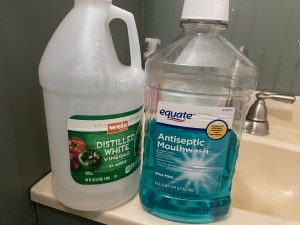
Just put all these ingredients into a big bowl, one big enough to cover one foot with liquid. Put a small towel next to the bowl.
Soak for at least ten minutes per foot. I suggest doing it while you’re watching tv or whatever, so time goes faster. When one foot has soaked, take it out and rest it in the towel.

When both feet have been sufficiently soaked, you’re ready to get out your pedicure tools.
I got this set for my daughter and am glad I have it around to use now and then. It has several filers/graters with varying levels of coarseness.
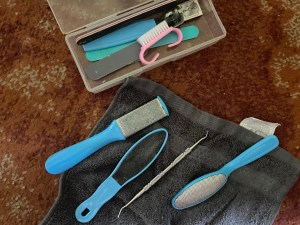
I empty the bowl I was using, and do this filing in the empty bowl itself, because this step can be messy. It may sound gross, but you want to remove lots of dry rough skin. I start with a bigger file, and just work it all around one foot, really emphasizing the heels and balls of the feet. With your skin softened from the soaking, you should honestly have a lot come off. Then I get a dry brush and brush hard, getting the last of everything off.
Take a minute to enjoy how clean and smooth your feet are- even the heels! Right?
Take the small tools and work around each toenail, pushing back cuticles and getting all the dry skin off the toes. Get under each toenail really well.
Cut your toenails now if necessary. After the soaking they should be really easy to cut, so I always suggest waiting to cut them. Cutting toenails can be such a pain because they are ordinarily so brittle.
Now just get a regular emory board and file each toenail into the shape you prefer.
Time for Painting!
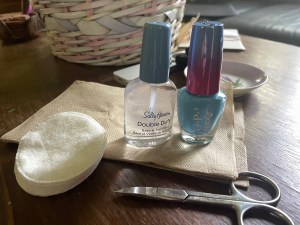
I always start with a base coat, it’s kind of like a paint primer, as it helps smooth out your nail and prepare it for the actual colored polish. Using toe separators are great if you have them. Just a little tissue or cotton balls between your toes works too. Separating them just helps you get a better position when painting them.
I personally usually do this outside on my porch, where there’s really good lighting. Bending over to reach your toes can cast a shadow that makes it difficult to see really well. If my daughters are around, we often paint each other’s. It’s SO much easier to do someone else’s for sure.
So once you have good position and lighting, you can paint your nails, nice and slowly starting from the cuticle.
If you get a little on your skin, just have a few Q-tips and some polish remover handy.

Two coats, with sufficient drying in between, should be enough for a dark/bright enough color.
Talk about Color!
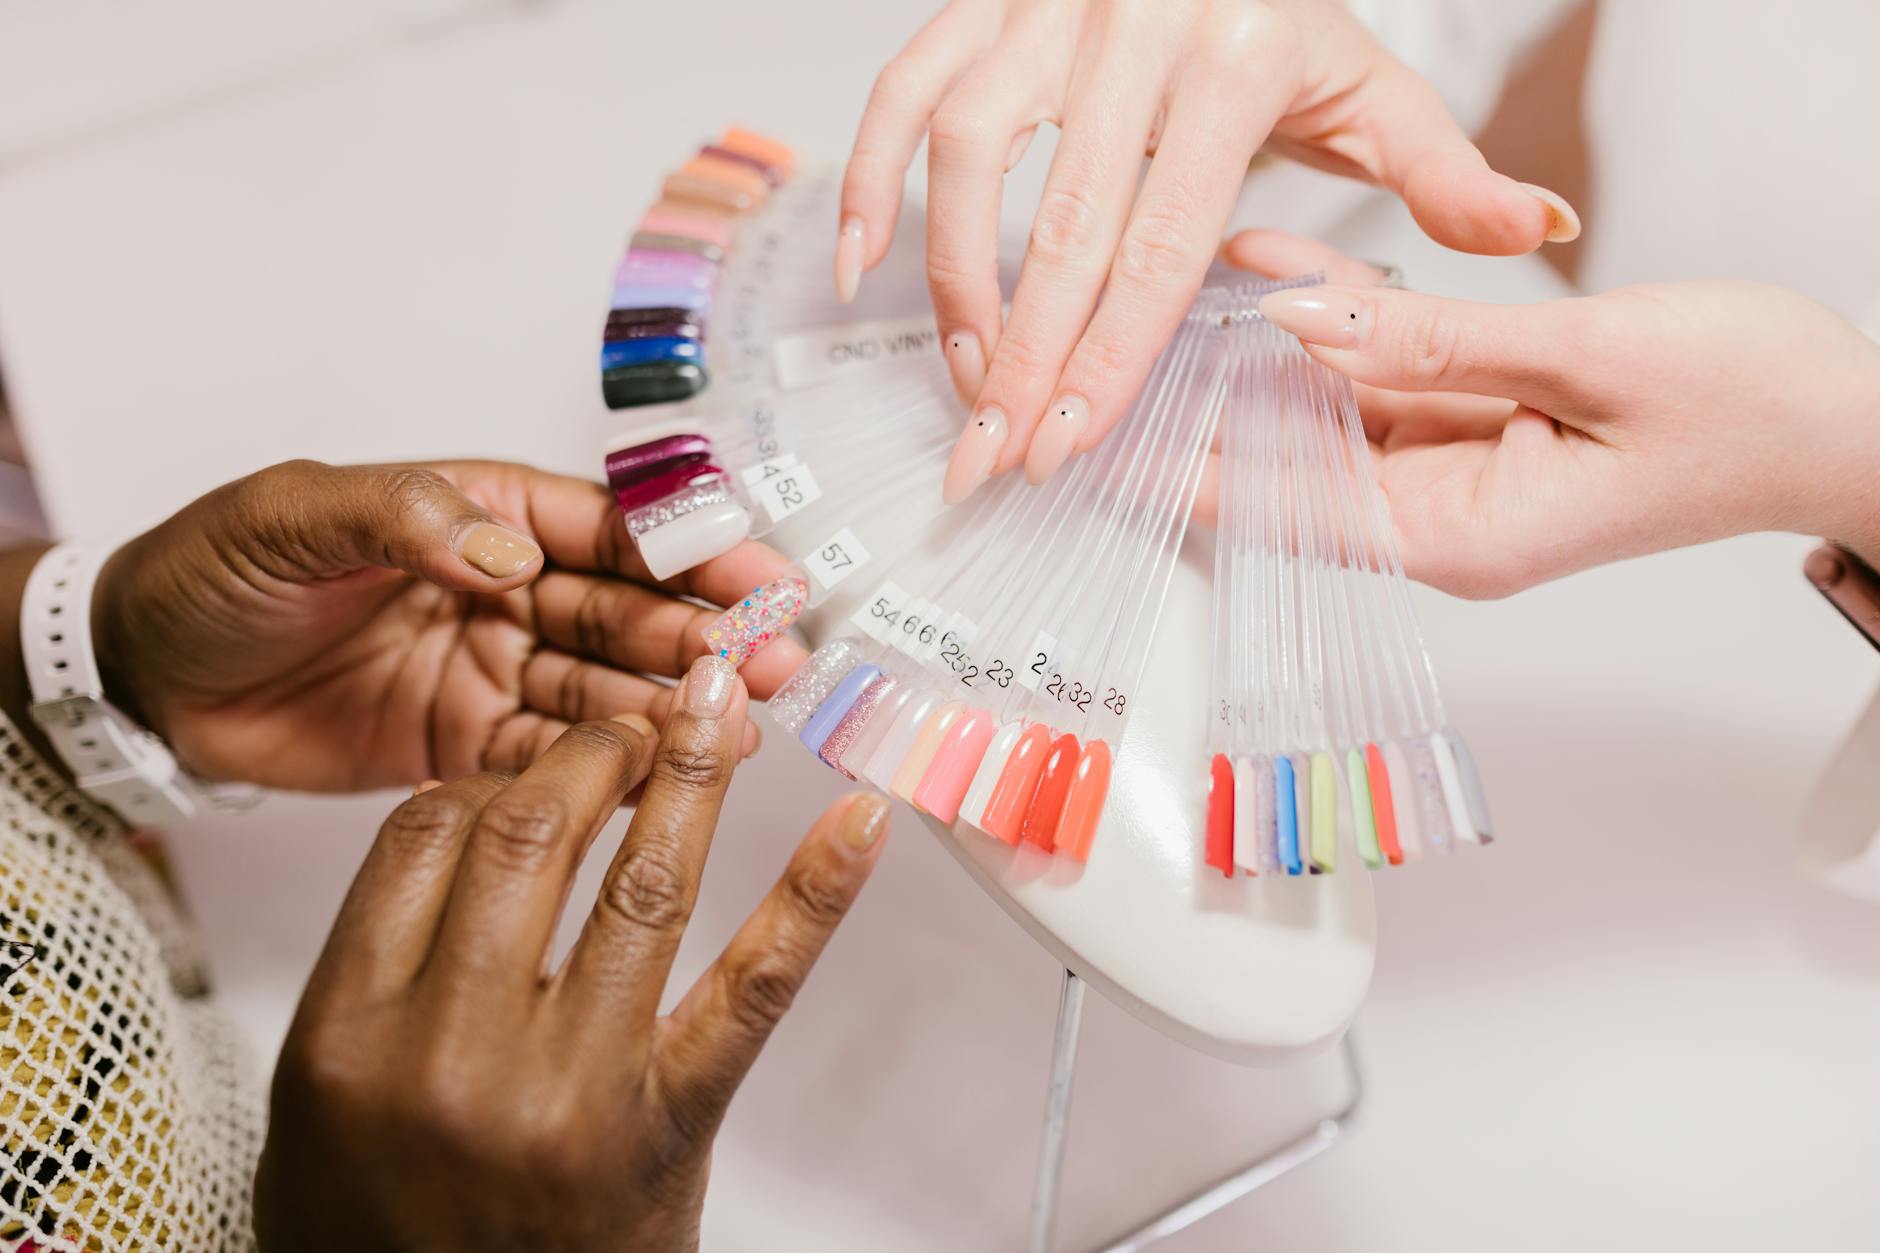
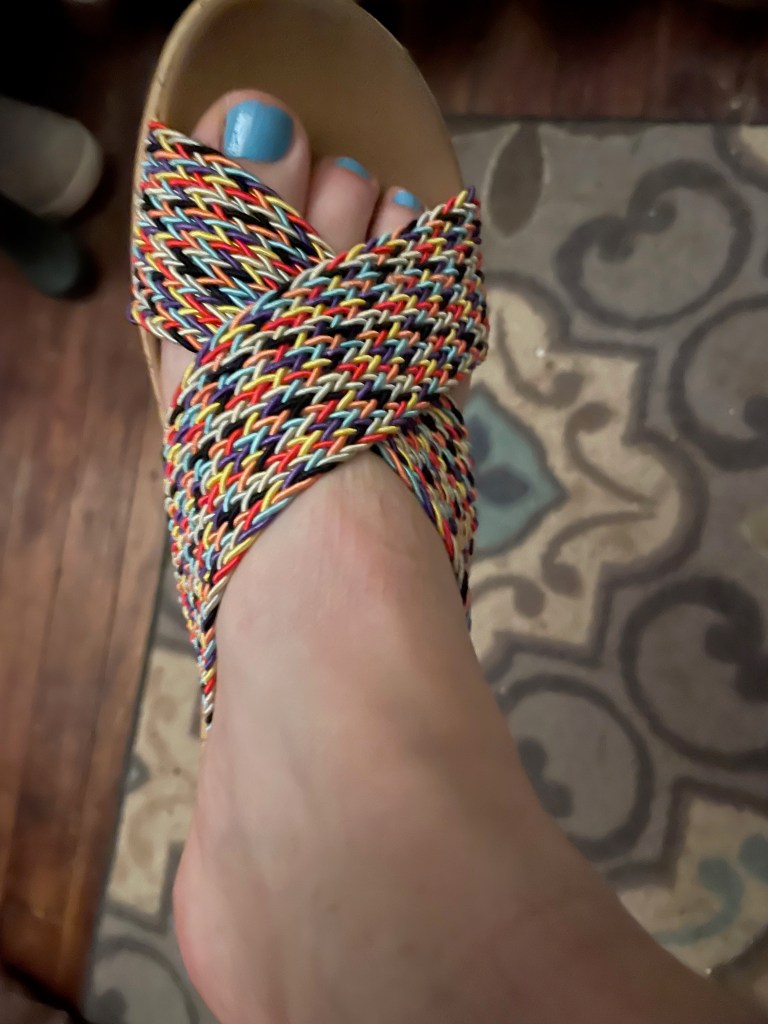
I’ve had a lot of compliments on my ability to really match nail color (fingers usually) to each season, holiday, event, vacation. I love doing it- it kind of falls within my love of THEMES. Red, white and blue for Memorial Day? Green nails when the Eagles were in the Super Bowl? Yes! For my first pedicure of Spring, I’m opting for a robin’s egg blue. So pretty (see an upcoming posts of nail colors).
Then a top coat for some shine and sealing.
The most important thing is giving toenails enough time to dry. I have left the nail salon and come home only to have my toenails a mess. This honestly shouldn’t happen in the salon because of the special drying spray they use. Do they sell this for regular people? If so, it may be worth investing in this if you do your toes yourself often, because it’s kind of hard to gauge when they are dry for real. So for an at-home pedicure, give it lots of time before putting on any shoes.
When my toes are thoroughly dry, I like to end the process with a little foot cream. After getting off all that dry skin, it’s a real treat to moisturize soft feet. Have you seen the foot masks? I got my daughters these for their Christmas stockings. There are some you can leave on overnight with some warm socks- a fabulous treat to wake up to smooth feet.
You can also slather some Vaseline on at night to get the same effect. I’m all about multi-uses for things I already have (ie Listerine!).
I’d say I’m pretty happy with how my toes turned out from my home pedicure! Doing these throughout the summer will save you time getting over to the salon, and more importantly, money. With this process (especially letting them dry enough), a nice set of nails should last at least a few weeks.


Leave a comment